Woodshop SVG
Published 6 years, 6 months pastFor the holiday break this year, I decided to finally tackle creating an indoor work space. I’d had my eye on a corner of our basement storage room for a while, and sketched out various rough plans on graph paper over the past couple of years. But this time? This time, I was doing it.
The core goal is to have a workbench where I can do small toy and appliance repair when needed, as well as things like wood assembly after using the garage power tools to produce the parts — somewhere warm in the depths of winter and cool at the height of summer, where glue and finish will always be in its supported temperature range. But that spawns a whole lot of other things in support of that goal: places to store components like screws, clamps, drills, bits, hammers, saws, wires, and on and on.
Not to mention, many tools are powered, and the corner in question didn’t come with any outlets. Not even vaguely nearby, unless you count the other side of the room behind a standing freezer. Which, for the record, I don’t count. I had to do something about that.
So anyway, a lot of stuff got cleared out of the corner and stored elsewhere, if it wasn’t just tossed outright. Then I took a couple of cabinets off the wall and remounted one of them elsewhere in the room, which was quite the experience, let me tell you. When I discovered I’d mis-measured the available space and the cabinet ever so slightly, I had the following conversation with myself:
“This cabinet is an eighth-inch too tall to fit. You’ll never get it in there!”
“Yeah? Well, me and Mister Block Plane here say different.”
Reader, I got it in there.
Moving the cabinets exposed a short wall of framing studs mounted atop a cinderblock foundation wall. I’ll get to how I used those in a future piece, but here I want to talk about something I’ve been using to help me visualize parts of this project and get cut lists out of it at the end: hand-written SVG.
You heard me. I’ve been hand-coding SVG schematics to figure out how thing should go together, and as a by-product, guide me in both material buying and wood cutting.
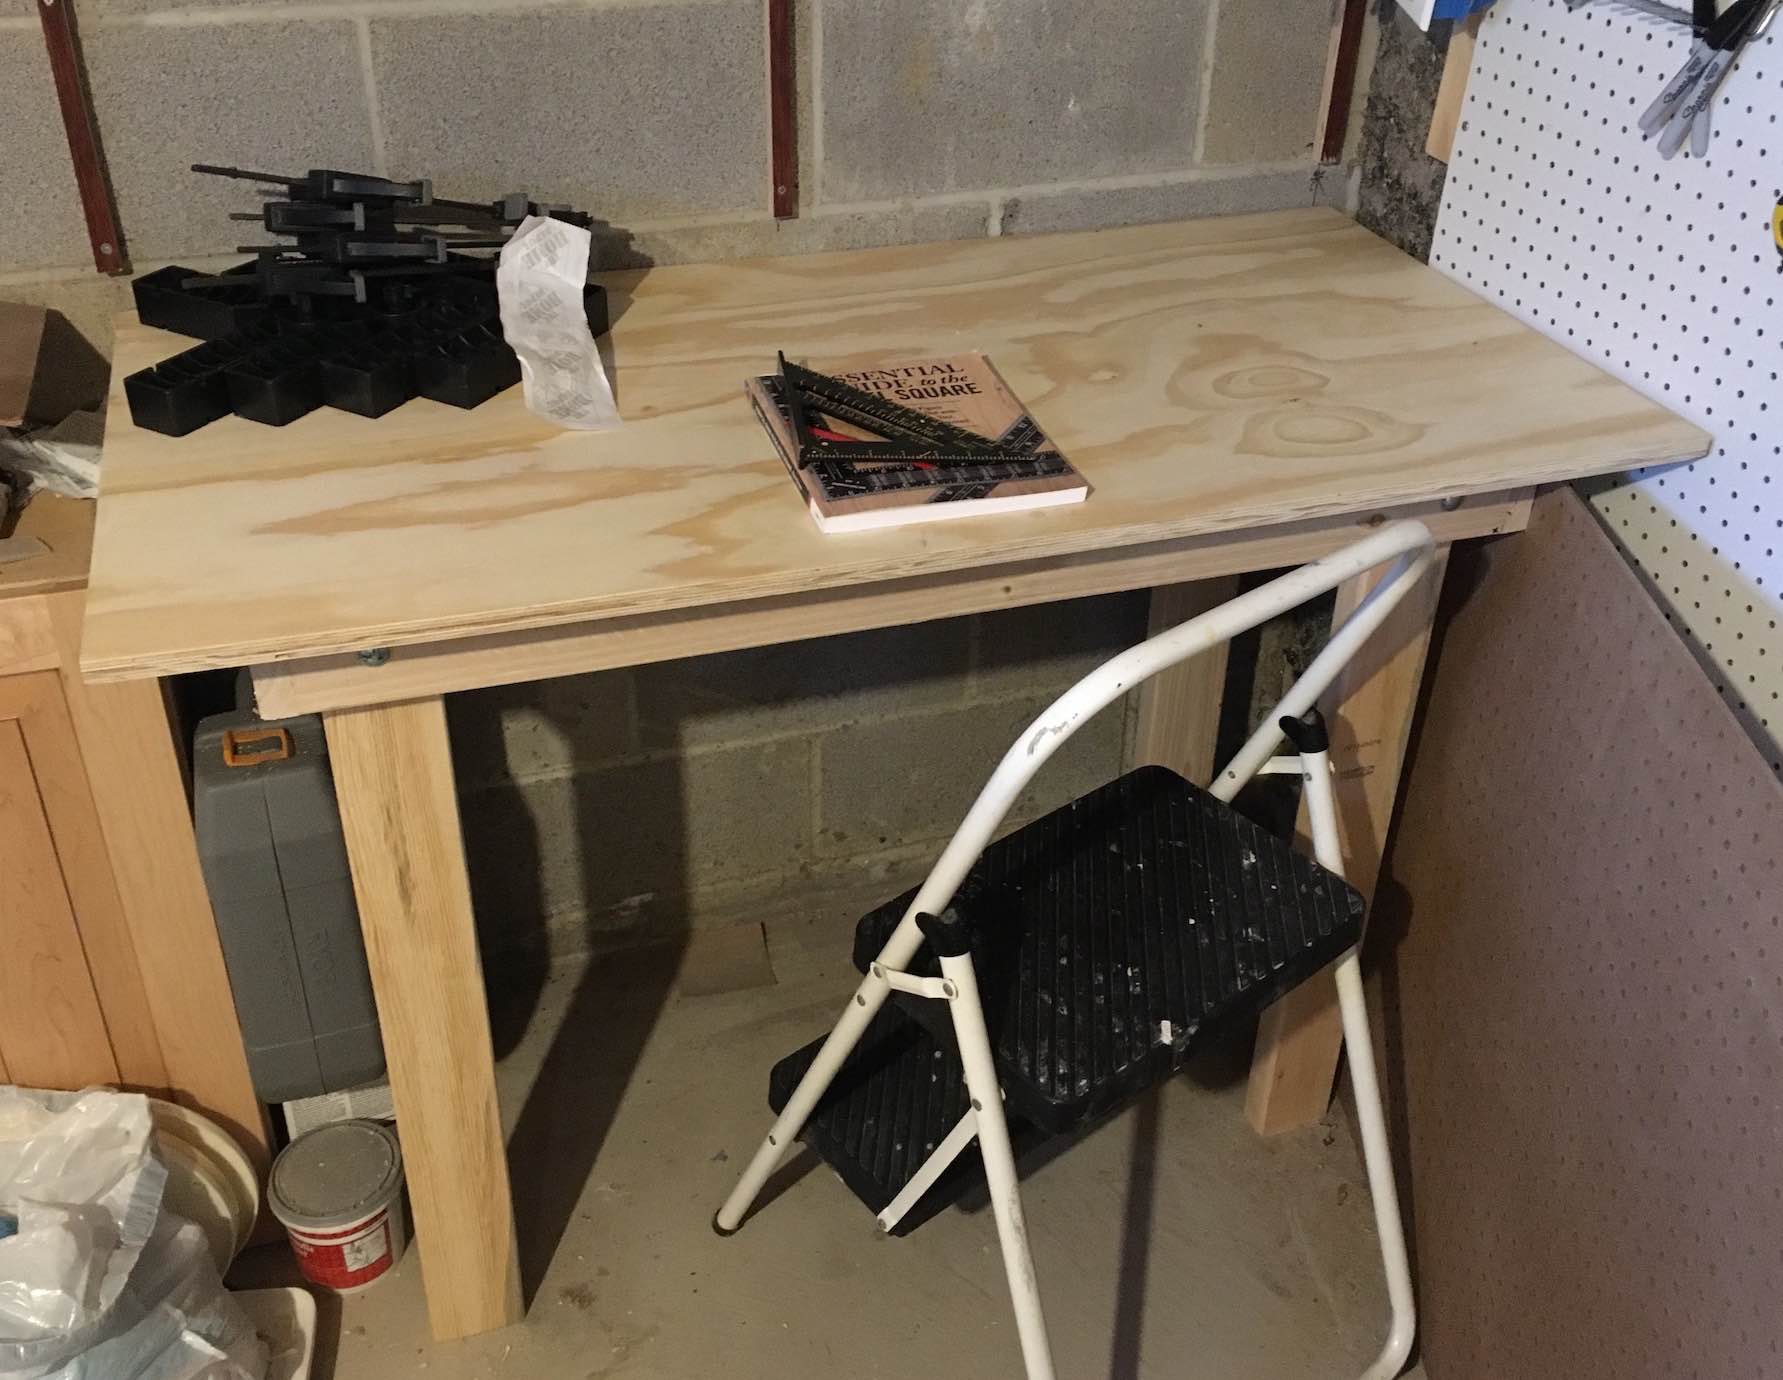
This might sound hugely bespoke and artisanally overdone, but they’re not that complicated, and as a major benefit, the process has helped me understand SVG a little bit better. Here’s one example, a top-down diagram of the (supposedly) temporary workbench I recently built out of plywood and kiln-dried framing studs.

That shows a 2’×4′ benchtop with a supporting frame (the overlapping grayish boxes) and the placement of the four legs (the brown rectangles). Here’s how I wrote the elements to represent the supporting frame.
<g class="structure">
    <path d="M 3.75 3.75  l 40.5 0" /> <!-- back -->
    <path d="M 3.75 12.00 l 40.5 0" class="optional" />
    <path d="M 3.75 20.25 l 40.5 0" /> <!-- front -->

    <path d="M 3.75 3  l 0 18" /> <!-- left -->
    <path d="M 24.00 3.75 l 0 16.5" class="optional" />
    <path d="M 44.25 3 l 0 18" /> <!-- right -->
</g>
And here’s how I styled them.
.structure {
    stroke: #000;
    stroke-width: 0;
    fill: #000;
}
.structure path {
    opacity: 0.1;
    stroke-width: 1.5;
}
.structure .optional {
    opacity: 0.05;
}
I like using paths in this situation because they let me pick a starting coordinate, then draw a line with relative X-Y values. So that first path starts at X=3.75 and Y=3.75, and then draws a line whose endpoint is 40.5 X-units and 0 Y-units from the starting point. In other words, it’s 40.5 units long and purely horizontal. Compare that to the path marked left, which starts nearby (X=3.75, Y=3) and runs 18 units straight down.
This helps with cut planning because I set things up such that each unit equals an inch. Just by looking at the values in the SVG, I know I need two pieces that are 40.5 inches long, and two that are 18 inches long. (Three pieces of each length, if I’d decided to use the pieces classed as optional, but I didn’t.)
And how did I get that to work? I set the viewbox to be only a few coordinate units larger than the overall piece, which I knew would be 24 by 48 units (inches), and then made the image itself large.
<svg xmlns:svg="http://www.w3.org/2000/svg"
    xmlns="http://www.w3.org/2000/svg"
    xmlns:xlink="http://www.w3.org/1999/xlink"
    width="1000"
    height="500"
    viewBox="0 0 54 30"
    >
Basically, I added 6 to each of 24 and 48 to get my viewBox values, allowing me three units of “padding” (not CSS padding) on each side. I filled the whole thing with a rectangle with a soft gray fill, like so.
<rect height="100%" width="100%" fill="#EEE" />
Which was great, but now I had to figure out how to get the 24×48 workplan into the center of the viewbox without having to add three to every coordinate. I managed that with a simple translation.
<g transform="translate(3,3)">
    <rect width="48" height="24" fill="hsla(42deg,50%,50%,0.5)" />
    …
</g>
And with that, everything inside that g (which is basically the entire diagram) can use coordinates relative to 0,0 without ending up jammed into the top left corner of the image. For example, that rect, which has no x or y attributes and so defaults both to 0. It thus runs from 0,0 to 48,24 (as is proper, X comes before Y), but is actually drawn from 3,3 to 51,27 thanks to the transform of the g container.
The drawback to this approach, in my eyes, is that if text is added, it needs a really small font size. In this particular case, I decided to add a measurement grid to the diagram which is revealed when the SVG is printed. You can also see it on a mouse-and-keyboard computer if you click through to the SVG and then hover the tabletop. To all the paths I used to make the grid (and yes, there’s a better way), I added a set of labels like these:
<text x="12" y="0" dx="0.5" dy="-0.5">12</text>
<text x="24" y="0" dx="0.5" dy="-0.5">24</text>
<text x="36" y="0" dx="0.5" dy="-0.5">36</text>
<text x="48" y="0" dx="0.5" dy="-0.5">48</text>

<text x="0" y="0" dx="-0.33" dy="-0.33">0</text>
<text x="0" y="12" dx="-0.5" dy="0.5">12</text>
<text x="0" y="24" dx="-0.5" dy="0.5">24</text>
At my browser’s default of 16px, the text is HUGE, because it gets made 16 units tall. That’s almost three-quarters the height of the viewbox! So I ended up styling it to be teensy by any normal measure, just so it would come out contextually appropriate.
.lines text {
    font-size: 1px;
    font-family: Arvo, sans-serif;
    text-anchor: end;
}
Yes. 1px. I know. And yet, they’re the right size for their context. It still grates on me, but it was the answer that worked for this particular context. You can see the result if you load up the SVG on its own and mouse-hover the benchtop.
The legs I decided to do as rect elements, for no reason I can adequately explain other than I’d started to get a little sick of the way path forced me to figure out where the center of each line had to be in order to make the edges land where I wanted. path is great if you want a line exactly centered on a unit, like 12.00, but if you want the edge of a board to be three inches from the left edge of the tabletop, it has to start at x="3.75" if the board is 1.5 inches wide. If the width ever changes, you have to change the x value as well.
For the support frame, which is going to be made entirely out of boards an inch and a half wide, this wasn’t a super big deal, but the math had started to grate a bit. So, the legs are rects, because I could use the grid I’d drawn to figure out their top left corners, and the height and width were constants. (I probably could have set those via the CSS, but eh, sometimes it’s better to have your code self-document.)
<g class="legs">
    <rect x="4.5" y="4.5" height="1.5" width="3.5" />
    <rect x="4.5" y="18" height="1.5" width="3.5" />
    <rect x="40" y="4.5" height="1.5" width="3.5" />
    <rect x="40" y="18" height="1.5" width="3.5" />
</g>
Honestly, I probably didn’t even need to include these, but they served as a useful reminder not to forget them when I went to buy the wood.
As I said, simply by glancing at the SVG source, I can see how long the support frame’s pieces need to be — but more to the point, as I adjusted numbers to move them around, I worked their sizes into my head. What I mean is, I had to visualize them to draw the right lines, and that means I’ve already done some visualization of the assembly. I just need to remember that each of the four legs will be 34″ long at the most. Taken all together, I’ll need three 8-foot 2×4 boards (which actually have a cross-section of 1.5″×3.5″ — don’t ask), chopped up and joined appropriately, to go under my 2’×4′ benchtop.
So that’s how I utterly geeked up my workbench project — and if that seems like a bit much, just wait until you see the next thing I did, and what I learned along the way.
Comments (4)
An alternative to using
translate(3,3)is to set the viewbox toviewBox="-3 -3 54 30".A good point, Sjoerd! I did try that at one point, and realized I’d have to set the gray triangle’s coordinates to -3,-3. Which, at the time, made me grumpy for no easily discernible reason, so I ended up using a translated group. I probably should have done what you suggest, though. Thanks for the alternative!
You may already be aware of this, but a great tool for taking your cut list from your SVG and translating it to a shopping list is Cutlist
I’ve had great luck with Google image search and adding “filetype:svg” to my search.