Masked Gradient Dashed Lines
Published 3 years, 8 months pastI talked in my last post about how I used linear gradients to recreate dashed lines for the navlinks and navbar of wpewebkit.org, but that wasn’t the last instance of dashing gradients in the design. I had occasion to use that technique again, except this time as a way to create a gradient dash. I mean, a dashed line that has a visible gradient from one color to another, as well as a dashed line that’s constructed using a linear gradient. Only this time, the dashed gradient is used to create the gaps, not the dashes.
To set the stage, here’s the bit of the design I had to create:
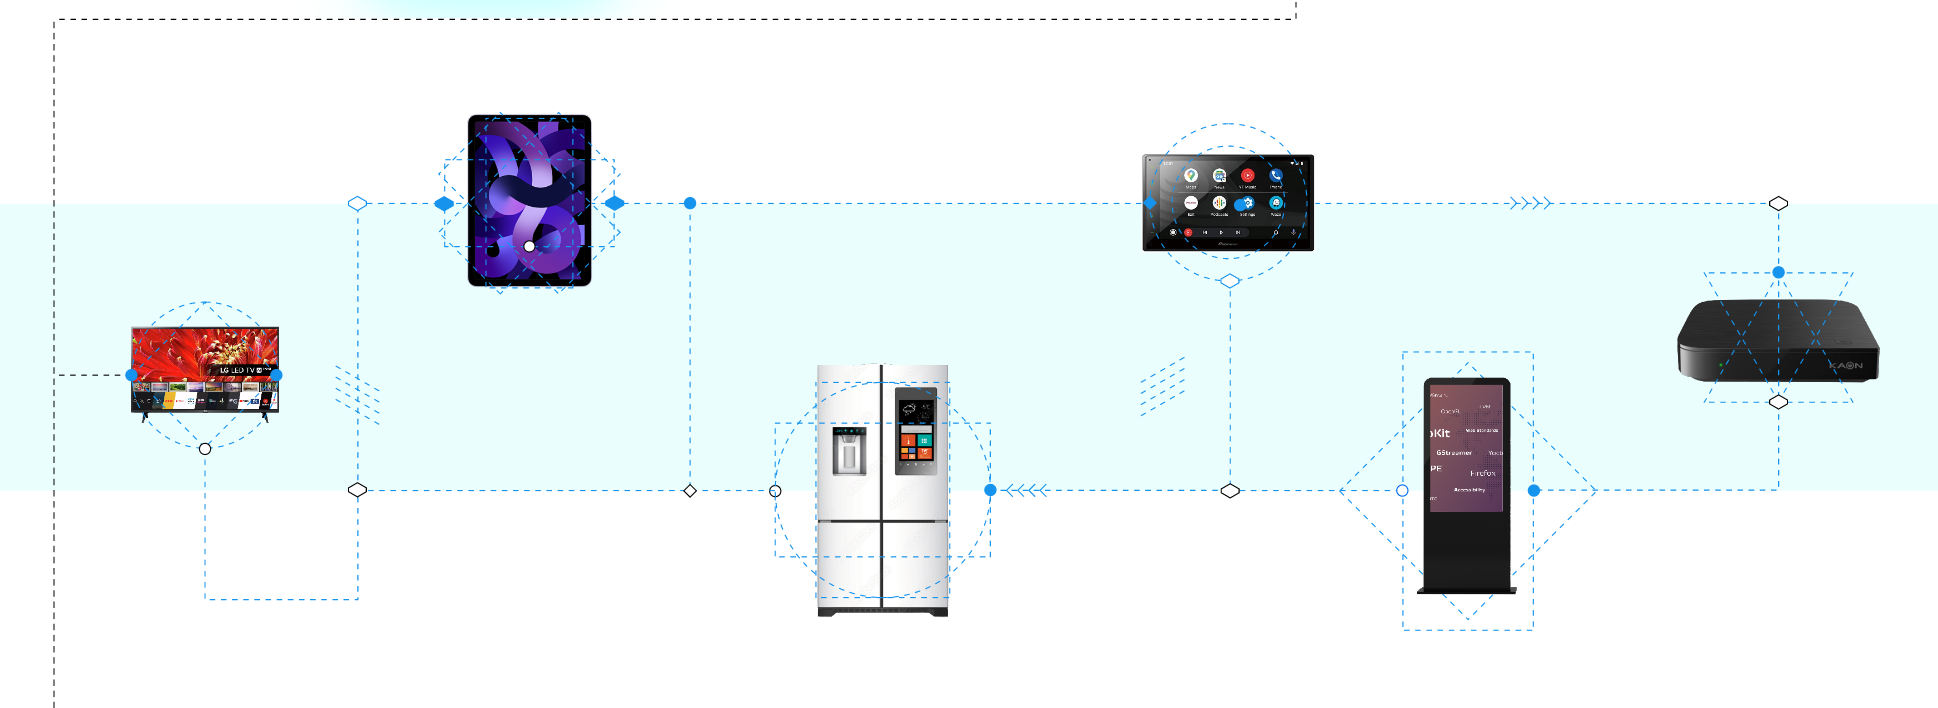
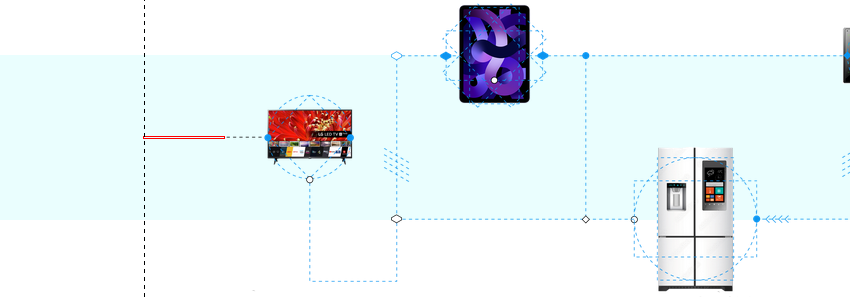
The vertical dashed line down the left side of the design is a dashed linear gradient, but that’s not actually relevant. It could have been a dashed border style, or an SVG, or really anything. And that image on the right is a PNG, but that’s also not really relevant. What’s relevant is I had to make sure the image was centered in the content column, and yet its dashed line connected to the left-side dashed line, regardless of where the image landed in the actual content.
Furthermore, the colors of the two dashed lines were different at the point I was doing the implementation: the left-side line was flat black, and the line in the image was more of a dark gray. I could have just connected a dark gray line to the black, but it didn’t look right. A color transition was needed, while still being a dashed line.
Ideally, I was looking for a solution that would allow a smooth color fade over the connecting line’s length while also allowing the page background color to show through. Because the page background might sometimes be white and sometimes be a light blue and might in the future be lime green wavy pattern or something, who knows.
So I used a dashed linear gradient as a mask. The CSS goes like this:
.banner::before {
	content: '';
	position: absolute;
	top: 50%;
	left: -5rem;
	width: 5rem;
	height: 1px;
	background: linear-gradient(90deg, #222, #888);
	mask-image: repeating-linear-gradient(
		270deg, transparent, #999 1px 3px, transparent 4px 7px);
}
Please allow me to break it down a step at a time.
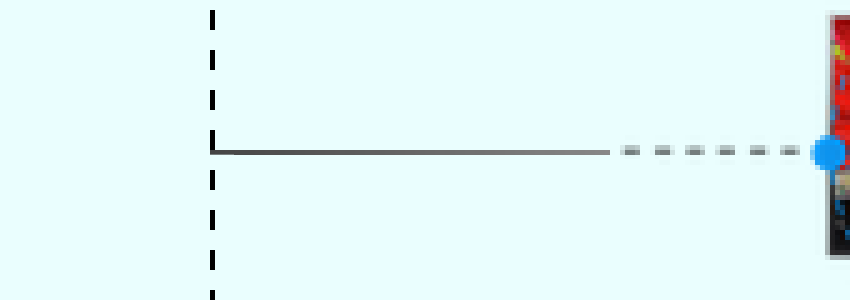
First, there’s the positioning of the pseudo-element, reaching leftward 5rem from the left edge of the content column, which here I’ve annotated with a red outline. (I prefer outlines to borders because outlines don’t participate in layout, so they can’t shift things around.)
.banner::before {
	content: '';
	position: absolute;
	top: 50%;
	left: -5rem;
	width: 5rem;
	height: 1px;
}
To that pseudo-element, I added a 90-degree-pointing linear gradient from black to gray to its background.
	…
	background: linear-gradient(90deg, #222, #888);
}
The pseudo-element does happen to touch the end of one of the vertical dashes, but that’s purely by coincidence. It could have landed anywhere, including between two dashes.
So now it was time for a mask. CSS Masks are images used to hide parts of an element based on the contents of the masking image, usually its alpha channel. (Using luminosity to define transparency levels via the mask-mode property is also an option, but Chrome doesn’t support that as yet.) For example, you can use small images to clip off the corners of an element.
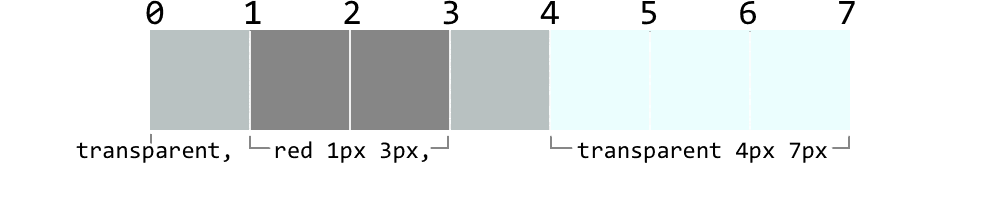
In this case, I defined a repeating linear gradient because I knew what size the dashes should be, and I didn’t want to mess with mask-size and mask-repeat (ironically enough, as you’ll see in a bit). This way, the mask is 100% the size of the element’s box, and I just need to repeat the gradient pattern however many times are necessary to cross the entire width of the element’s background.
Given the design constraints, I wanted the dash pattern to start from the right side, the one next to the image, and repeat leftward, to ensure that the dash pattern would look unbroken. Thus I set its direction to be 270 degrees. Here I’ll have it alternate between red and transparent, because the actual color used for the opaque parts of the mask doesn’t matter, only its opacity:
	…
	mask-image: repeating-linear-gradient(
		270deg, transparent, red 1px 3px, transparent 4px 7px);
}
The way the mask works, the transparent parts of the masking image cause the corresponding parts of the element to be transparent — to be clipped away, in effect. The opaque parts, whatever color they actually have, cause the corresponding parts of the element to be drawn. Thus, the parts of the background’s black-to-gray gradient that line up with the opaque parts of the mask are rendered, and the rest of the gradient is not. Thus, a color-fading dashed line.
This is actually why I separated the ends of the color stops by a pixel: by defining a one-pixel distance for the transition from transparent to opaque (and vice versa), the browser fills those pixels in with something partway between those two states. It’s probably 50% opaque, but that’s really up to the browser.
The result is a softening effect, which matches well with the dashed line in the image itself and doesn’t look out of place when it meets up with the left-hand vertical dashed line.
At least, everything I just showed you is what happens in Firefox, which proudly supports all the masking properties. In Chromium and WebKit browsers, you need vendor prefixes for masking to work. So here’s how the CSS turned out:
.banner::before {
	content: '';
	position: absolute;
	top: 50%;
	left: -5rem;
	width: 5rem;
	height: 1px;
	background: linear-gradient(90deg, #222, #888);
	-webkit-mask-image: repeating-linear-gradient(
		270deg, transparent, red 1px 3px, transparent 4px 7px);
	mask-image: repeating-linear-gradient(
		270deg, transparent, red 1px 3px, transparent 4px 7px);
}
And that’s where we were at launch.
It still bugged me a little, though, because the dashes I created were one pixel tall, but the dashes in the image weren’t. They were more like a pixel and a half tall once you take the aliasing into account, so they probably started out 2 (or more) pixels tall and then got scaled down. The transition from those visually-slightly-larger dashes to the crisply-one-pixel-tall pseudo-element didn’t look quite right.
I’d hoped that just increasing the height of the pseudo-element to 2px would work, but that made the line look too thick. That meant I’d have to basically recreate the aliasing myself.
At first I considered leaving the mask as it was and setting up two linear gradients, the existing one on the bottom and a lighter one on top. Instead, I chose to keep the single background gradient and set up two masks, the original on the bottom and a more transparent one on top. Which meant I’d have to size and place them, and keep them from tiling. So, despite my earlier avoidance, I had to mess with mask sizing and repeating anyway.
mask-image:
	repeating-linear-gradient(
		270deg, transparent, #89A4 1px 3px, transparent 4px 7px),
	repeating-linear-gradient(
		270deg, transparent, #89A 1px 3px, transparent 4px 7px);
	mask-size: 100% 1px;
	mask-repeat: no-repeat;
	mask-position: 100% 0%, 100% 100%;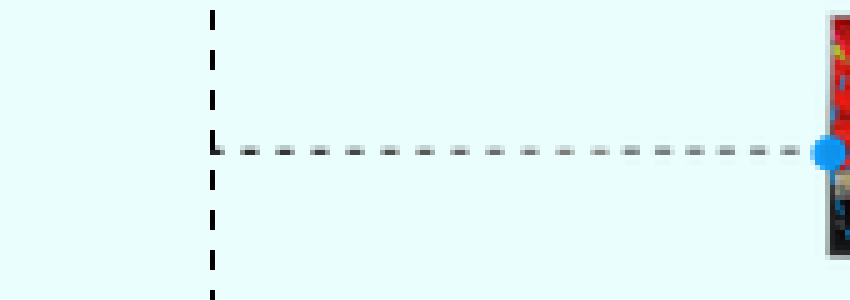
And that’s how it stands as of today.
In the end, this general technique is pretty much infinitely adaptable, in that you could define any dash pattern you like and have it repeat over a gradient, background image, or even just a plain background color. It could be used to break up an element containing text, so it looks like the text has been projected onto a thick dashed line, or put some diagonal slashes through text, or an image, or a combination.
Or use a tiled radial gradient to make your own dotted line, one that’s fully responsive without ever clipping a dot partway through. Wacky line patterns with tiled, repeated conic gradients? Sure, why not?
The point being, masks let you break up the rectangularity of elements, which can go a long way toward making designs feel more alive. Give ’em a try and see what you come up with!
One Comment
Pingback ::
Web Design & Development News: Collective #736
[…] Masked Gradient Dashed Lines […]