Posts from January 2020

Woodshop SVG: Studs and Shelves

Published 4 years, 1 month past

As I’ve worked on my indoor workspace, I’ve continued to find SVG useful for planning purposes, and putting it to use in my planning has pushed me to learn more about the language.  (That last sentence is actually a play on words, for reasons that I hope will become clear by the end of the post.)

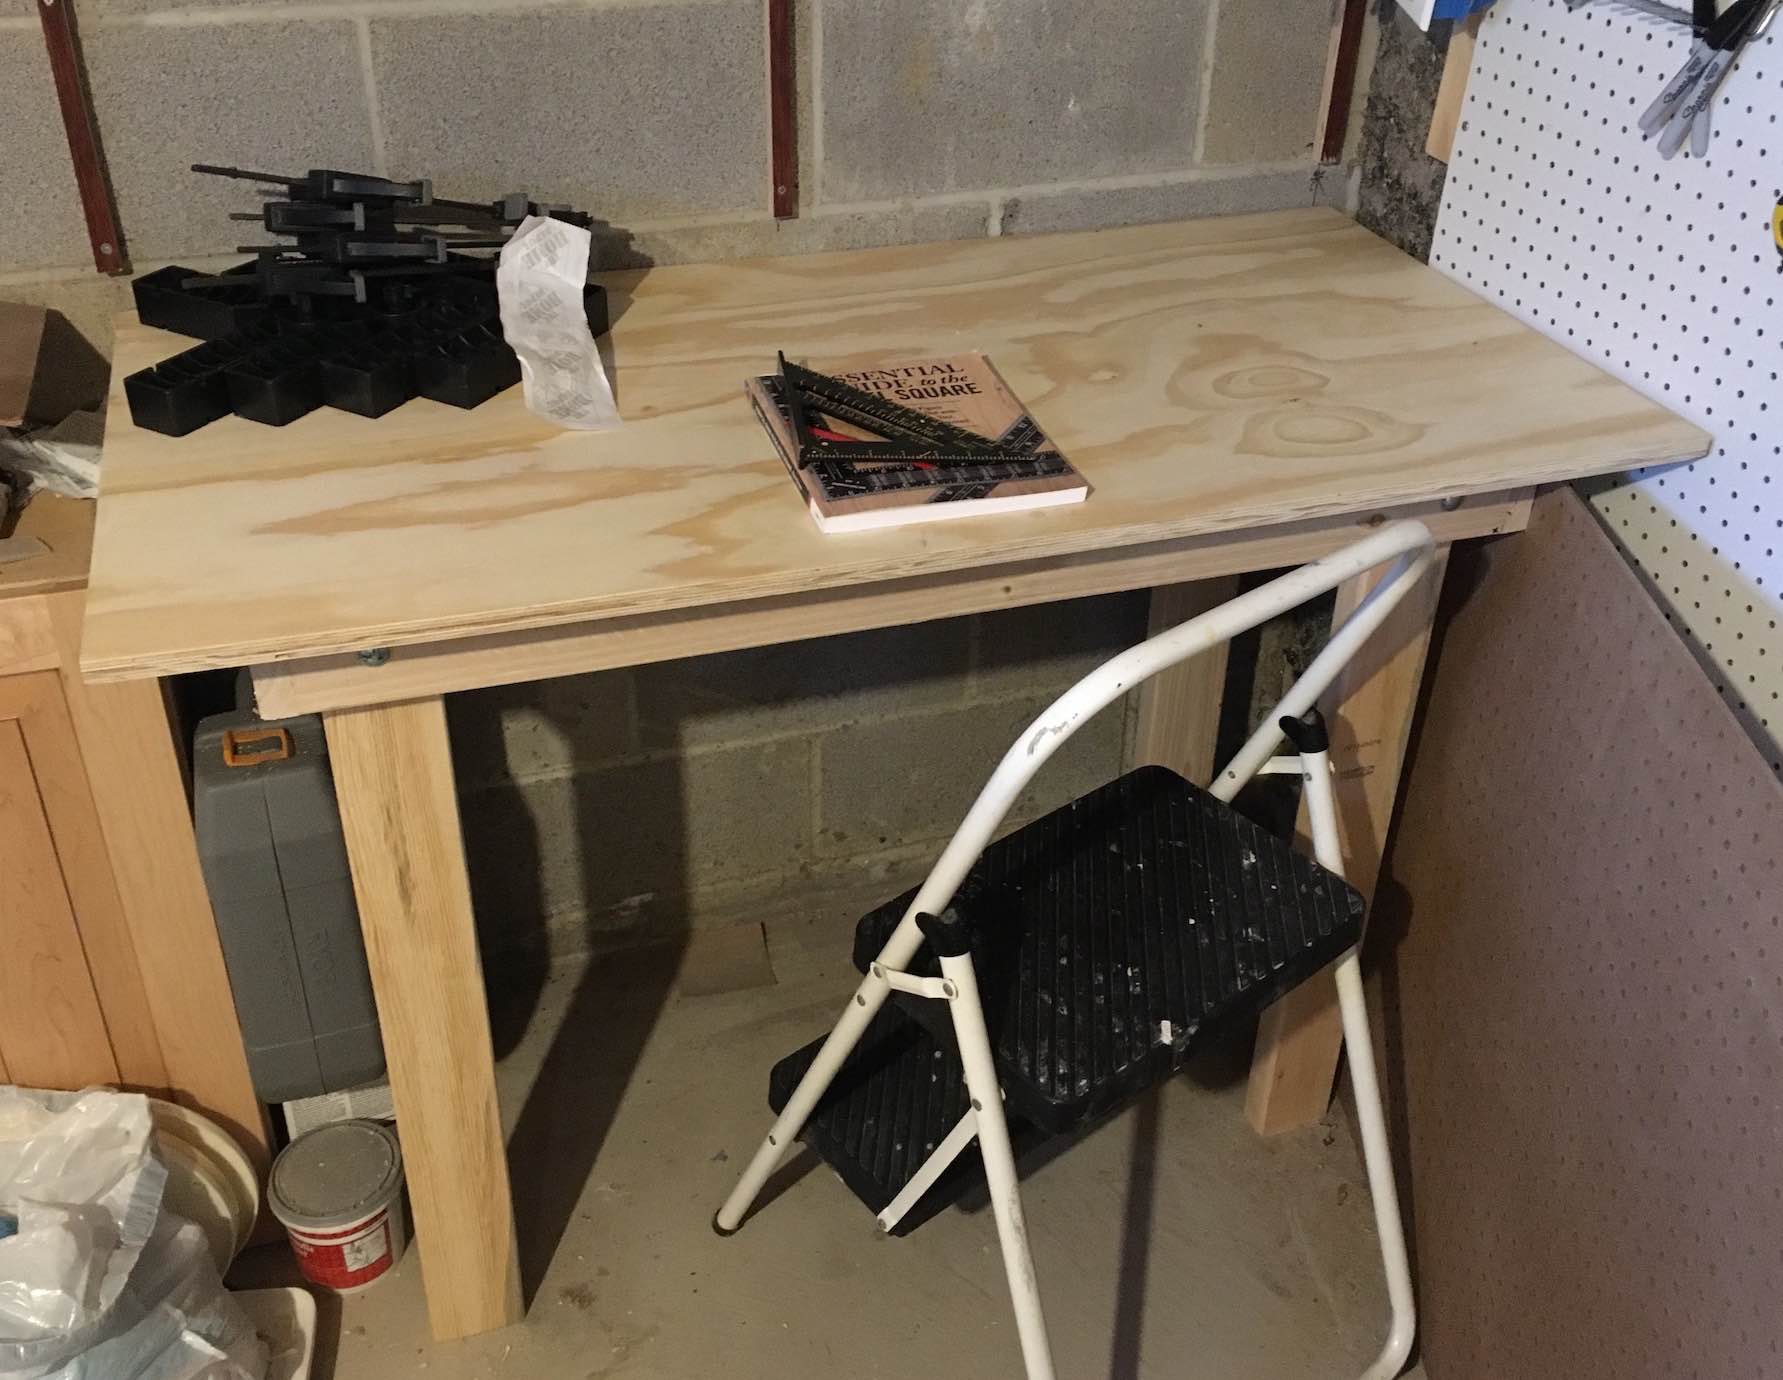
For example, the basement room I’m partially turning into a workspace has a set of exposed framing studs (exposed once I removed a couple of cabinets, anyway) that I wanted to turn into a set of rough shelving, so that I could organize the various bits ‘n’ bobs I accumulate: leftover bolts, extra pullchain, and so on.  These studs are perched on foundation cinderblock, about 48 inches off the floor, and run up to the ceiling from there.

Each stud is 28 inches tall, running from a 2×6 base up to a stacked pair of 2×6 crossbeams.  They also have strips of 2×10 mounted vertically at their bottoms, running between each stud.  (I’m not entirely sure why the 2×10s are there, but I’m not about to start ripping them out now.)

The distances between subsequent studs is also not consistent: they’re mostly close to 16 inches on-center, but not perfectly so, and the last set is only 12 inches apart because the framing ends where a set of stairs begins.  So I created a schematic, including a red box to mark where a 1-gang electrical box. protrudes from the other side of the wall.

The middle stud is taller as a reminder to me that, if not for the crossbeams, it could keep going up past the ceiling joist.  The others are essentially centered on the joists above them (centered within half an inch or so, anyway).

Why does that matter?  Because to make the shelves, I decided to mount 2×6s in front of the framing studs, to allow for shelves 11 inches deep.  So in cases where the studs are centered below ceiling joists, I can run the front-mounted 2×6es up to them.  In that middle case, I’ll actually need a longer 2×6 to run up next to the joist.

This all might sound like a lot of work to deal with odd circumstances, but that was part of the point of this part of the project.  We don’t always get to work in ideal circumstances.  Learning how best to work around the existing limitations is a valuable lesson in itself.

I tried out a lot of different shelf configurations.  At first, I was just using <rect> elements like this.

<rect x="1.5" y="9"    width="14.5" height="0.5" />
<rect x="1.5" y="19.5" width="14.5" height="0.5" />

That’s two shelves, ten inches apart, in the leftmost stud bay.  (The shelves are a half-inch thick.)  That worked okay for a while, but then I decided to show the support rails that would both tie the 2×6s to the studs behind them, and also hold up the shelves.  So that meant more <rect>s, like so.

<rect x="1.5" y="9"    width="14.5" height="0.5" />
<rect x="1.5" y="19.5" width="14.5" height="0.5" />
<rect x="1.5" y="9.5"  width="0.75" height="1.125" />
<rect x="15.25" y="9.5"  width="0.75" height="1.125" />
<rect x="1.5" y="20"  width="0.75" height="1.125" />
<rect x="15.25" y="20"  width="0.75" height="1.125" />

Again, that’s just for the first stud bay: two shelves, and then four supports, two for each shelf.  And I have five bays to do.

Still, it it took deciding to show the storage bins I wanted on the shelves to push to look for a better way.  Basically, what I wanted was a way to define a primitive of a shelf and two support rails, and then just place that.  And then a way to do the same for collections of storage bins, which could be stacked atop each other.

SVG provides for exactly this, through the combination of <defs> and <use>.  I set up a basic shelf set like this:

<defs>
    <g id="shelf">
        <rect x="0" y="0" width="14.5" height="0.5" />
        <rect x="0" y="0.5"  width="0.75" height="1.125" />
        <rect x="13.75" y="0.5"  width="0.75" height="1.125" />
    </g>
</defs>

If you think of that as its own little SVG, it defines a horizontal shelf 14.5 coordinate units wide, and half a unit tall, starting at 0,0.  It then places the two support rails just below, starting half a unit down from the top.

With that in hand, the two shelves I was drawing before collapsed from six lines to two:

<use xlink:href="#shelf" x="1.5" y="9" />
<use xlink:href="#shelf" x="1.5" y="20" />

Suddenly, rather than fiddling with the X,Y coordinates of several pieces just to move a shelf, I could adjust the X,Y of one <use> element.  To say this sped up my workflow would be a monumental understament.  Trying out different shelf spacing and shelf counts went from being a chore to being almost too easy.

This was only magnified when I wrote the definitions for storage-bin primitives.  At first, I drew them the same way I had the shelves, down and right from 0,0, but that was difficult in a number of ways.  Different bin sizes meant I had to do different math to get the bins to sit on the shelves.  And then I remembered that SVG is unbounded on both axes — which meant I could draw the bins up from 0,0, meaning I could give them the same y coordinate as the shelves.

Wait, what?  Let me show you.  Inside <defs>, I wrote:

<g id="bins4">
    <rect x="0" y="-4" width=".15" height="4" />
    <rect x="4" y="-4" width=".15" height="4" />
    <rect x="0" y="-1.5" width="4.15" height="1.5" />
    <rect x="4.2" y="-4" width=".15" height="4" />
    <rect x="8.2" y="-4" width=".15" height="4" />
    <rect x="4.2" y="-1.5" width="4.15" height="1.5" />
    <rect x="8.4"  y="-4" width=".15" height="4" />
    <rect x="12.4" y="-4" width=".15" height="4" />
    <rect x="8.4"  y="-1.5" width="4.15" height="1.5" />
</g>

Everything is drawn starting from above the y=0 line, and reaches down to y=0.  So that first <rect> with height="4" starts at a Y coordinate of -4.  -4 plus 4 equals zero.

That allowed the following:

<use xlink:href="#shelf" x="1.5" y="9" />
<use xlink:href="#bins4" x="2.5" y="9" />
<use xlink:href="#shelf" x="1.5" y="20" />
<use xlink:href="#bins4" x="3.0" y="20" />

See how the y coordinate is the same for both shelf and associated bins?  If I decide to move a shelf up an inch and a half, I just take 1.5 off the y value for the shelf’s <use>, and then use that same value for the y attribute on the bins’ <use>.

Could I have made this even better by combining shelves and bins into a single primitive definition, and only having one <use>?  Yes, if there would only be one set of bins per shelf.  That’s how I dd it in this particular arrangement.  (In this case, the brown vertical studs are actually the 2×6s mounted in front of the wall studs, so they’re taller and based lower.)

However, I also considered stacking bins on each other between shelves, as in this configuration.

That wound up being pretty close to what I did, in the end.

There were a couple of things I wished I could do (or wish I had figured out how to do) in SVG.  The first was a way of varying the width on the <use> elements.  The rightmost stud bay is 12 inches wide, not the 14½ inch bays the others have.  I ended up defining a separate primitive definition for those shelves.

<g id="shelf-sm">
    <rect x="0" y="0" width="12.5" height="0.5" />
    <rect x="0" y="0.5"  width="0.75" height="1.125" />
    <rect x="11.75" y="0.5"  width="0.75" height="1.125" />
</g>

I guess I could have done X-axis scaling transforms on the regular #shelf primitive.  Actually, looking back on it, that probably makes a lot more sense than what I did.  It would have squished the support rails a tiny bit, but not enough to throw off precision cuts or anything.  (There really were no precision cuts in this project — this is carpentry at its roughest.)

The other thing I wanted was the ability to draw “backwards” by giving negative height and width values.  So as an example, I’d have liked to write the rightmost support rail like this:

<rect x="14.5" y="0.5" width="-0.75" height="1.125" />

I know, I know, a negative distance doesn’t really make sense when talking about physical units.  I still wanted to do it.  I mean, it made sense to me in my head.

Just like the idea of hand-authoring SVG to plan out workshop projects made sense to me.  I’m sure I could have done it a little faster and a little more intuitively in a vector editor, but I’d have had to buy one (my copy of Illustrator no longer runs on my Mac, more’s the pity) and if I’d gone that route, I wouldn’t have learned a lot more about SVG and its capabilities.  Either way, the end result is pleasing to me… at least for the time being.


Woodshop SVG

Published 4 years, 2 months past

For the holiday break this year, I decided to finally tackle creating an indoor work space.  I’d had my eye on a corner of our basement storage room for a while, and sketched out various rough plans on graph paper over the past couple of years.  But this time?  This time, I was doing it.

The core goal is to have a workbench where I can do small toy and appliance repair when needed, as well as things like wood assembly after using the garage power tools to produce the parts — somewhere warm in the depths of winter and cool at the height of summer, where glue and finish will always be in its supported temperature range.  But that spawns a whole lot of other things in support of that goal: places to store components like screws, clamps, drills, bits, hammers, saws, wires, and on and on.

Not to mention, many tools are powered, and the corner in question didn’t come with any outlets.  Not even vaguely nearby, unless you count the other side of the room behind a standing freezer.  Which, for the record, I don’t count.  I had to do something about that.

So anyway, a lot of stuff got cleared out of the corner and stored elsewhere, if it wasn’t just tossed outright.  Then I took a couple of cabinets off the wall and remounted one of them elsewhere in the room, which was quite the experience, let me tell you.  When I discovered I’d mis-measured the available space and the cabinet ever so slightly, I had the following conversation with myself:

“This cabinet is an eighth-inch too tall to fit. You’ll never get it in there!”

“Yeah?  Well, me and Mister Block Plane here say different.”

Reader, I got it in there.

Moving the cabinets exposed a short wall of framing studs mounted atop a cinderblock foundation wall.  I’ll get to how I used those in a future piece, but here I want to talk about something I’ve been using to help me visualize parts of this project and get cut lists out of it at the end: hand-written SVG.

You heard me.  I’ve been hand-coding SVG schematics to figure out how thing should go together, and as a by-product, guide me in both material buying and wood cutting.

This might sound hugely bespoke and artisanally overdone, but they’re not that complicated, and as a major benefit, the process has helped me understand SVG a little bit better.  Here’s one example, a top-down diagram of the (supposedly) temporary workbench I recently built out of plywood and kiln-dried framing studs.

That shows a 2’×4′ benchtop with a supporting frame (the overlapping grayish boxes) and the placement of the four legs (the brown rectangles).  Here’s how I wrote the elements to represent the supporting frame.

<g class="structure">
    <path d="M 3.75 3.75  l 40.5 0" /> <!-- back -->
    <path d="M 3.75 12.00 l 40.5 0" class="optional" />
    <path d="M 3.75 20.25 l 40.5 0" /> <!-- front -->

    <path d="M 3.75 3  l 0 18" /> <!-- left -->
    <path d="M 24.00 3.75 l 0 16.5" class="optional" />
    <path d="M 44.25 3 l 0 18" /> <!-- right -->
</g>

And here’s how I styled them.

.structure {
    stroke: #000;
    stroke-width: 0;
    fill: #000;
}
.structure path {
    opacity: 0.1;
    stroke-width: 1.5;
}
.structure .optional {
    opacity: 0.05;
}

I like using paths in this situation because they let me pick a starting coordinate, then draw a line with relative X-Y values.  So that first path starts at X=3.75 and Y=3.75, and then draws a line whose endpoint is 40.5 X-units and 0 Y-units from the starting point.  In other words, it’s 40.5 units long and purely horizontal.  Compare that to the path marked left, which starts nearby (X=3.75, Y=3) and runs 18 units straight down.

This helps with cut planning because I set things up such that each unit equals an inch.  Just by looking at the values in the SVG, I know I need two pieces that are 40.5 inches long, and two that are 18 inches long.  (Three pieces of each length, if I’d decided to use the pieces classed as optional, but I didn’t.)

And how did I get that to work?  I set the viewbox to be only a few coordinate units larger than the overall piece, which I knew would be 24 by 48 units (inches), and then made the image itself large.

<svg xmlns:svg="http://www.w3.org/2000/svg"
    xmlns="http://www.w3.org/2000/svg"
    xmlns:xlink="http://www.w3.org/1999/xlink"
    width="1000"
    height="500"
    viewBox="0 0 54 30"
    >

Basically, I added 6 to each of 24 and 48 to get my viewBox values, allowing me three units of “padding” (not CSS padding) on each side.  I filled the whole thing with a rectangle with a soft gray fill, like so.

<rect height="100%" width="100%" fill="#EEE" />

Which was great, but now I had to figure out how to get the 24×48 workplan into the center of the viewbox without having to add three to every coordinate.  I managed that with a simple translation.

<g transform="translate(3,3)">
    <rect width="48" height="24" fill="hsla(42deg,50%,50%,0.5)" />
    …
</g>

And with that, everything inside that g (which is basically the entire diagram) can use coordinates relative to 0,0 without ending up jammed into the top left corner of the image.  For example, that rect, which has no x or y attributes and so defaults both to 0.  It thus runs from 0,0 to 48,24 (as is proper, X comes before Y), but is actually drawn from 3,3 to 51,27 thanks to the transform of the g container.

The drawback to this approach, in my eyes, is that if text is added, it needs a really small font size.  In this particular case, I decided to add a measurement grid to the diagram which is revealed when the SVG is printed.  You can also see it on a mouse-and-keyboard computer if you click through to the SVG and then hover the tabletop.  To all the paths I used to make the grid (and yes, there’s a better way), I added a set of labels like these:

<text x="12" y="0" dx="0.5" dy="-0.5">12</text>
<text x="24" y="0" dx="0.5" dy="-0.5">24</text>
<text x="36" y="0" dx="0.5" dy="-0.5">36</text>
<text x="48" y="0" dx="0.5" dy="-0.5">48</text>

<text x="0" y="0" dx="-0.33" dy="-0.33">0</text>
<text x="0" y="12" dx="-0.5" dy="0.5">12</text>
<text x="0" y="24" dx="-0.5" dy="0.5">24</text>

At my browser’s default of 16px, the text is HUGE, because it gets made 16 units tall.  That’s almost three-quarters the height of the viewbox!  So I ended up styling it to be teensy by any normal measure, just so it would come out contextually appropriate.

.lines text {
    font-size: 1px;
    font-family: Arvo, sans-serif;
    text-anchor: end;
}

Yes.  1px.  I know.  And yet, they’re the right size for their context.  It still grates on me, but it was the answer that worked for this particular context.  You can see the result if you load up the SVG on its own and mouse-hover the benchtop.

The legs I decided to do as rect elements, for no reason I can adequately explain other than I’d started to get a little sick of the way path forced me to figure out where the center of each line had to be in order to make the edges land where I wanted.  path is great if you want a line exactly centered on a unit, like 12.00, but if you want the edge of a board to be three inches from the left edge of the tabletop, it has to start at x="3.75" if the board is 1.5 inches wide.  If the width ever changes, you have to change the x value as well.

For the support frame, which is going to be made entirely out of boards an inch and a half wide, this wasn’t a super big deal, but the math had started to grate a bit.  So, the legs are rects, because I could use the grid I’d drawn to figure out their top left corners, and the height and width were constants.  (I probably could have set those via the CSS, but eh, sometimes it’s better to have your code self-document.)

<g class="legs">
    <rect x="4.5" y="4.5" height="1.5" width="3.5" />
    <rect x="4.5" y="18" height="1.5" width="3.5" />
    <rect x="40" y="4.5" height="1.5" width="3.5" />
    <rect x="40" y="18" height="1.5" width="3.5" />
</g>

Honestly, I probably didn’t even need to include these, but they served as a useful reminder not to forget them when I went to buy the wood.

As I said, simply by glancing at the SVG source, I can see how long the support frame’s pieces need to be — but more to the point, as I adjusted numbers to move them around, I worked their sizes into my head.  What I mean is, I had to visualize them to draw the right lines, and that means I’ve already done some visualization of the assembly.  I just need to remember that each of the four legs will be 34″ long at the most.  Taken all together, I’ll need three 8-foot 2×4 boards (which actually have a cross-section of 1.5″×3.5″ — don’t ask), chopped up and joined appropriately, to go under my 2’×4′ benchtop.

So that’s how I utterly geeked up my workbench project — and if that seems like a bit much, just wait until you see the next thing I did, and what I learned along the way.


Goodbye, Professor

Published 4 years, 2 months past

The year I turned twelve, I really, really wanted to celebrate my birthday at Chuck E. Cheese’s.  The closest one was nearly an hour away, somewhere in Columbus, but I really wanted to go there and play video games and generally be eleven.  My parents agreed, but said I could only bring one friend.  I chose, and we went.

I don’t remember driving there or back.  I don’t really remember the dinner (probably pizza) or playing any of the video games.  What I do remember is unwrapping the small present my friend had brought, there in the half-lit cacophony of Chuck E.’s place, to discover he’d given me a cassette of Moving Pictures by this band I’d never really heard of called Rush.  I must’ve looked nonplussed, because I remember him assuring me it was a good album and he thought I’d like it.

He was right.

I saved money to buy other albums, to get the P/G concert video on VHS, and eventually to see them live.  The second rock concert I ever went to was the Hold Your Fire tour at Richfield Coliseum.  I saw the next few tours there or at Blossom Music Center, standing in line at the Ticketmaster desk at the local Sears to get my tickets.  Post-college, my mother started coming to see them with me, and later my sister.  At almost every tour, I bought one T-shirt and the concert program.

What drew me into Rush fandom was partly what drew most fans: the technical virtuosity, the effortless shifting between moods and time signatures, the sheer joy of listening to three masters of their craft producing a sound that sounded like it required five or six, minimum.  But I was also drawn in by the lyrics: unlike all the other rock groups I heard on the radio, Rush exposed me to literary stories and philosophical questions.  They were just unlike any other band I knew, and the artistry captivated me.

The news broke today that man who wrote almost every line of those lyrics, Neil Peart, died earlier this week at age 67, after three and a half years of dealing with brain cancer.  It came as no surprise that the news came as a surprise: Peart was notoriously reclusive, even writing an entire song about his discomfort with and rejection of the social structures that exist around fame.  It still felt a little ironic, given that all through junior high and high school, a “Neil Peart is dying” rumor circulated at least once a year.  When he actually was dying, there were no rumors.

The news hit me hard, but not in the way I would have expected in my youth.  I’m old enough now, and have seen enough other legends die, that the loss of a personal hero is… if not expected, at least accepted.  This is the time of life where that sort of thing is just going to happen.  But the brain cancer that killed Peart, glioblastoma, is the same cancer that killed Rebecca, and my breath froze when I read it.

It feels in some ways like a cruel final twinning.  Throughout my life, I’ve found again and again that Peart and I had evolved in similar ways.  As a teen, I modeled some aspects of myself on his lyrics and the band as a whole; as an adult, charting my own course, I would sometimes learn that the parallels had continued.  To pick one example, many years ago I started calling myself, only part-jokingly, a “liberaltarian”.  Years after that, I found out that Peart identified the same way.  There were other times when I’d read one of his blog posts or books, or an interview with him, and something he said about his thoughts and opinions would resonate with me anew, seeing in my youthful hero a reflection of myself.  As I struggled to live after the death of my daughter, I would sometimes think about how he struggled under similar circumstances, and found a way forward.  At times, I used it as motivation to push myself to take another step forward.

I may be a fan, but even I will admit that his lyrics weren’t always brilliant — for every jaw-dropping turn of phrase, there was also a jaw-dropping clunker, though of course forty years of writing is more than long enough to turn out both diamonds and doggerel.  His drumming, on the other hand, absolutely was brilliant, beginning to end.  He was the first rock drummer I ever heard who played the drums like an instrument instead of a click track.  Expressive, intricate, sometimes bombastic, occasionally perplexing, but never boring.

There are many, many lyrics he wrote that would be relevant here, but instead of quoting, I’ll just say what I would have said if I’d ever met him: Thank you.  For so many different things at different points in my life, from the profound to the mundane.  For giving me more to think about in my music than almost anyone else.  For living life on your own terms, and for dying on those same terms.  For being an important and motivating part of so many, many lives.

Goodbye, Professor.  Thank you.


CWRU2K

Published 4 years, 2 months past

Before I tell you this story of January 1st, 2000, I need to back things up a few months into mid-1999.  I was working at Case Western Reserve University as a Hypermedia Systems Specialist, which was the closest the university’s job title patterns could get to my actual job which was, no irony or shade, campus Webmaster.  I was in charge of www.cwru.edu and providing support to departments who wanted a Web presence on our server, among many other things.  My fellow Digital Media Services employees provided similar support for other library and university systems.

So in mid-1999, we were deep in the throes of Y2K certification.  The young’uns in the audience won’t remember this, but to avoid loss of data and services when the year rolled from 1999 to 2000, pretty much the entire computer industry was engaged in a deep audit of every computer and program under our care.  There’s really been nothing quite like it, before or since, but the job got done.  In fact, it got done so well, barely anything adverse happened and some misguided people now think it was all a hoax designed to extract hefty consulting fees, instead of the successful global preventative effort it actually was.

As for us, pretty much everything on the Web side was fine.  And then, in the middle of one of our staff meetings about Y2K certification, John Sully said something to the effect of, “Wouldn’t it be funny if the Web server suddenly thought it was 1900 and you had to use a telegraph to connect to it?”

We all laughed and riffed on the concept for a bit and then went back to Serious Work Topics, but the idea stuck in my head.  What would a 1900-era Web site look like?  Technology issues aside, it wasn’t a complete paradox: the ancestor parts of CWRU, the Case Institute of Technology and the Western Reserve University, had long existed by 1900 (founded 1880 and 1826, respectively).  The campus photos would be black and white rather than color, but there would still be photos.  The visual aesthetic might be different, but…

I decided so make it a reality, and CWRU2K was born.  With the help of the staff at University Archives and a flatbed scanner I hauled across campus on a loading dolly, I scanned a couple dozen photos from the period 1897-1900 — basically, all those that were known to be in the public domain, and which depicted the kinds of scenes you might put on a Web site’s home page.

Then I reskinned the home page to look more “old-timey” without completely altering the layout or look.  Instead of university-logo blues and gold, I recolored everything to be wood-grain.  Helvetica was replaced with an “Old West” font in the images, of which there were several, mostly in the form of MM_swapimage-style rollover buttons.  In the process, I actually had to introduce two Y2K bugs to the code we used to generate dates on the page, so that instead of saying 2000 they’d actually say 1899 or 1900.  I altered other things to match the time, like altering the phone number to use two-letters-then-numbers format while still retaining full international dialing information and adding little curlicues to things.  Well before the holidays, everything was ready.

The files were staged, a cron job was set up, and at midnight on January 1st, 2000, the home page seamlessly switched over to its 1900 incarnation.  That’s a static snapshot of the page, so the picture will never change, but I have a gallery of all the pictures that could appear, along with their captions, which I strove to write in that deadpan stating-the-obvious tone the late 19th Century always brings to my mind.  (And take a close look at the team photo of The Rough Riders!)

In hindsight, our mistake was most likely in adding a similarly deadpan note to the home page that read:

Year 2000 Issues

Despite our best efforts at averting Y2K problems, it seems that our Web server now believes that it is January of 1900. Please be advised that we are working diligently on the problem and hope to have it fixed soon.

I say that was a mistake because it was quoted verbatim in stories at Wired and The Washington Post about Y2K glitches.  Where they said we’d actually suffered a real, unintentional Y2K bug, with Wired giving us points for having “guts” in publicly calling “a glitch a glitch”.  After I emailed both reporters to explain the situation and point them to our press release about it, The Washington Post did publish a correction a few days later, buried in a bottom corner of page A16 or something like that.  So far as I know, Wired never acknowledged the error.

CWRU2K lasted a little more than a day.  Although we’d planned to leave it up until the end of January, we were ordered to take it down on January 2nd.  My boss, Ron Ryan, was directed to put a note in my Permanent Record.  The general attitude Ron conveyed to me was along the lines of, “The administration says it’s clever and all, but it’s time to go back to the regular home page.  Next time, we need to ask permission rather than forgiveness.”

What we didn’t know at the time was how close he’d come to being fired.  At Ron’s retirement party last year, the guy who was his boss on January 2nd, 2000, Jim Barker, told Ron that Jim had been summoned that day to a Vice President’s office, read the riot act, and was sent away with instructions to “fire Ron’s ass”.  Fortunately, Jim… didn’t.  And then kept it to himself for almost 20 years.

There were a number of other consequences.  We got a quite a bit of email about it, some in on the joke, others taking it as seriously as Wired.  There’s a particularly lovely note partway down that page from the widow of a Professor Emeritus, and have to admit that I still smile over the props we got from folks on the NANOG mailing list.  I took an offer to join a startup a couple of months later, and while I was probably ready to move on in any case, the CWRU2K episode — or rather, the administration’s reaction to it — helped push me to make the jump.  I was probably being a little juvenile and over-reacting, but I guess you do that when you’re younger.  (And I probably would have left the next year regardless, when I got the offer to join Netscape as a Standards Evangelist.  Actual job title!)

So, that’s the story of how Y2K affected me.  There are some things I probably would have done differently if I had it to do over, but I’m 100% glad we did it.

  • CWRU2K was published on .
  • It was assigned to the History and Web categories.
  • There has been one reply.

Browse the Archive